PremiumDNS is our new globally available DNS service which provides you with a 100% service level agreement for DNS resolution. Learn more about Ekhteear's PremiumDNS service here. Delivered in partnership with Verisign®, this is one of the most cost-effective high-performance DNS services around for the money. For more details, feel free to check this article.
If your domain is pointed to our BasicDNS or Ekhteear Web HostingDNS, once a subscription is purchased, the domain in question will be automatically switched to PremiumDNS nameservers.
NOTE: These changes are not accepted instantly, it may take up to 24 hours (in rare cases more) for local ISPs to update their DNS caches so that everyone can see your website. You can find more information about DNS propagation here.
Once it’s done, you will need to copy all DNS Zone records for your domain from the hosting account (cPanel) to the Ekhteear account in order to connect the domain with the hosting service.
To set up host records for your domain, use the following instructions:
Step 1 – Find hosting records to be copied
1. Log into your cPanel
2. Navigate to the Domains section and click on the Advanced DNS Zone Editor option: 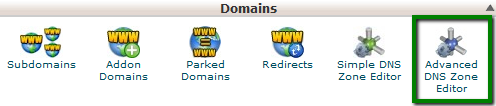
3. Choose the domain you would like to edit from a drop-down menu: 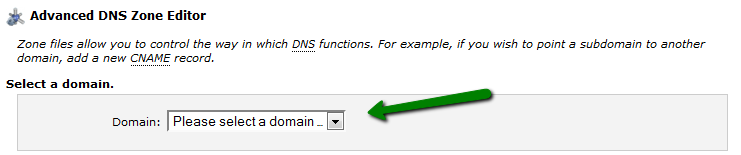
4. You will see the list of DNS zone records you need to copy from cPanel to the Ekhteear account: 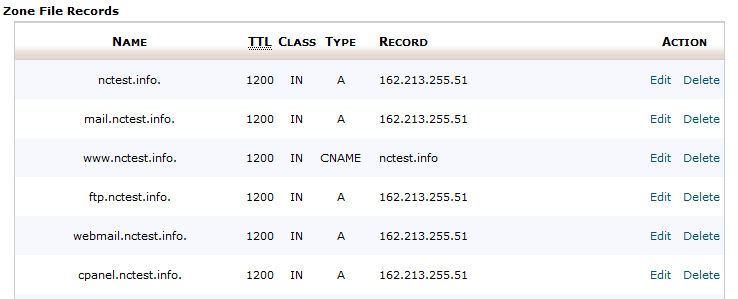
Step 2 – Adding DNS Records to Ekhteear account
1. Sign into your Ekhteear account.
2. Select Domain List from the left sidebar and click on Manage next to your domain: 
3. Switch to the Advanced DNS tab at the top of the page: 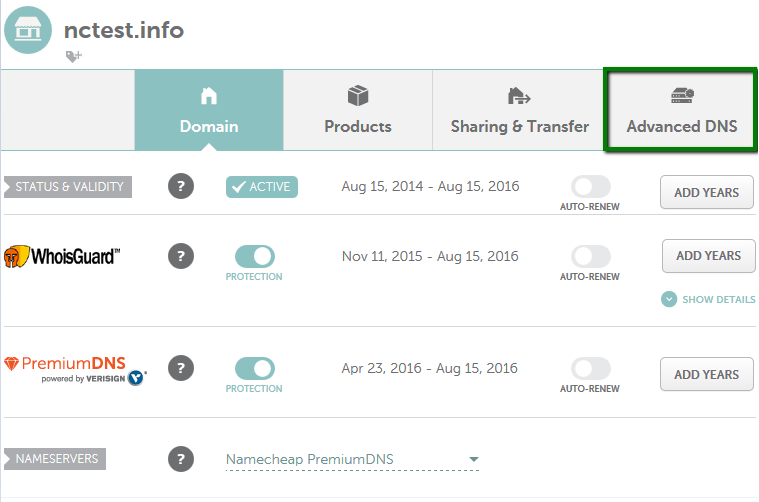

You can find out more details about each DNS record type in this article.
4. Below you will see the obligatory records which will connect your domain to the hosting server:
A (Address) record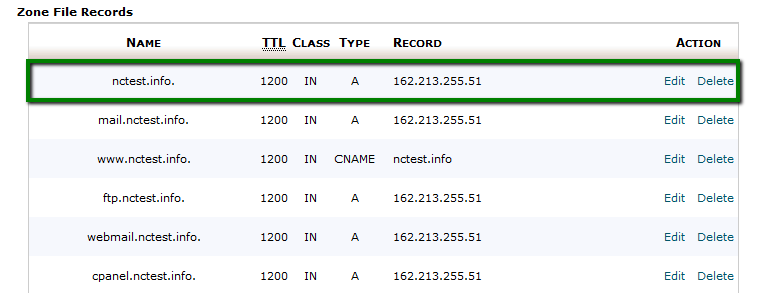
In order to add an A record follow these steps:
Type – choose A in the drop-down menu
Host – put @
Value – must be an IP address, namely, the one you have in your cPanel DNS manager
TTL – set Automatic value
Once all the fields are filled, click on the Save Changes button:
CNAME record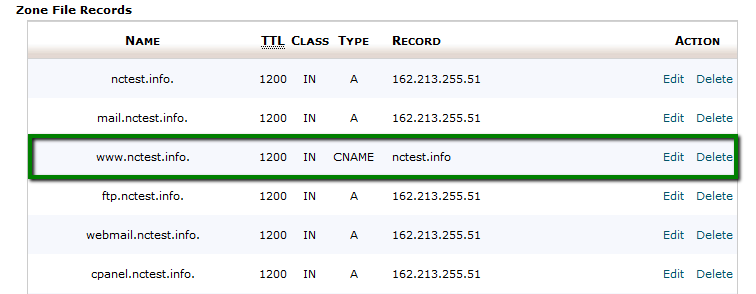
In order to add a CNAME record follow these steps:
Type – choose CNAME in the drop-down menu
Host – put www
Value – must be a valid zone name, in our case, it is nctest.info as set in the cPanel DNS manager
TTL – set Automatic value
Once all the fields are filled, click on the Save Changes button: 
5. In order to configure a web-hosting (cPanel) email service, you will need to add another A record, like mail.nctest.info: 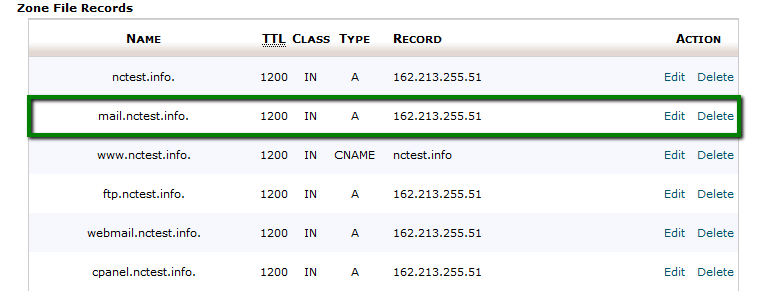
In order to add an A record follow these steps:
Type – choose A in the drop-down menu
Host – put mail
Value – must be an IP address, namely, the one you have in your cPanel DNS manager
TTL – set Automatic value 
6. Once done, scroll down to the Mail Settings section. There you will need to select Custom MX from the drop-down menu and set the following record:
Type – MX record
Host – put @
Value – here you need to set mail.domain.com, in our case, it is mail.nctest.info
Priority – should be set to 0
TTL – set Automatic value 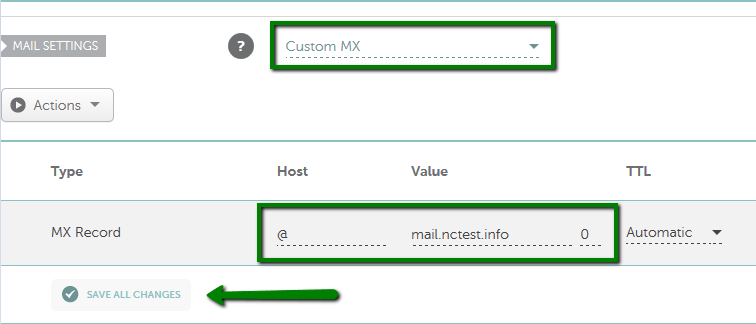
Make sure that you hit the Save All Changes button then. Normally, it takes 30 minutes for newly created records to take effect.
7. Additional records that you can copy from cPanel Advanced DNS Zone editor menu: 
| Type | Host | Value | TTL | Description |
|---|---|---|---|---|
| A | cpanel | IP address | Automatic | This record will allow you to log in to cPanel via cpanel.yourdomain.com |
| A | ftp | IP address | Automatic | This record will allow you to useftp.domain.com as a hostname with FTP clients |
| A | webmail | IP address | Automatic | This record will allow you to log in to cPanel webmail via webmail.domain.com |

8. You may also need to copy TXT and SRV records.
TXT record

In order to add a TXT record follow these steps:
Type – choose TXT in the drop-down menu
Host – put @
Value – take the one you have in your cPanel DNS manager
TTL – set Automatic value
Once all the fields are filled, click on the Save Changes button:

SRV record

In order to add an SRV record follow these steps:
Type – choose SRV in the drop-down menu
Value – must consist of the following settings:
- Service: includes the service (the symbolic name of the desired service) and protocol (the Protocol used by the service, usually either TCP or UDP)
- Protocol: TCP or UDP protocol
- Priority: priority of the target host, lower value means more preferred
- Weight: relative weight for records with the same priority, a higher value means more preferred
- Port: TCP or UDP port where the service is to be found
- Target: canonical hostname of the machine providing the service, ending in a dot.
Service: _caldav. Protocol: _tcp. Priority: 0 Weight: 0 Port: 2079 Target: server1.web-hosting.com

That's it!
Need any help? Contact our HelpDesk
